A Ukrainian doctor, Konstantin Buteyko, created the Buteyko breathing technique (BBT) in the 1950s. This therapeutic breathing method uses breath retention exercises to control the speed and volume of your breat. This a method aimed at reducing hyperventilation and increasing carbon dioxide levels in the body.
It’s used to manage and improve a variety of conditions, including
- asthma
- anxiety
- shortness of breath
- sleep concerns
- sleep quality by promoting deep sleep,
- reducing snoring,
- relieving sleep apnea.
How to do it
Buteyko breathing teaches you to breathe more gently and less rapidly. You’ll learn to breathe slower and deeper, which balances your breathing rhythms.
It involves exercises that teach you to hold your breath and refrain from breathing. It’s said that over time the breathing technique will become a natural part of your daily life.
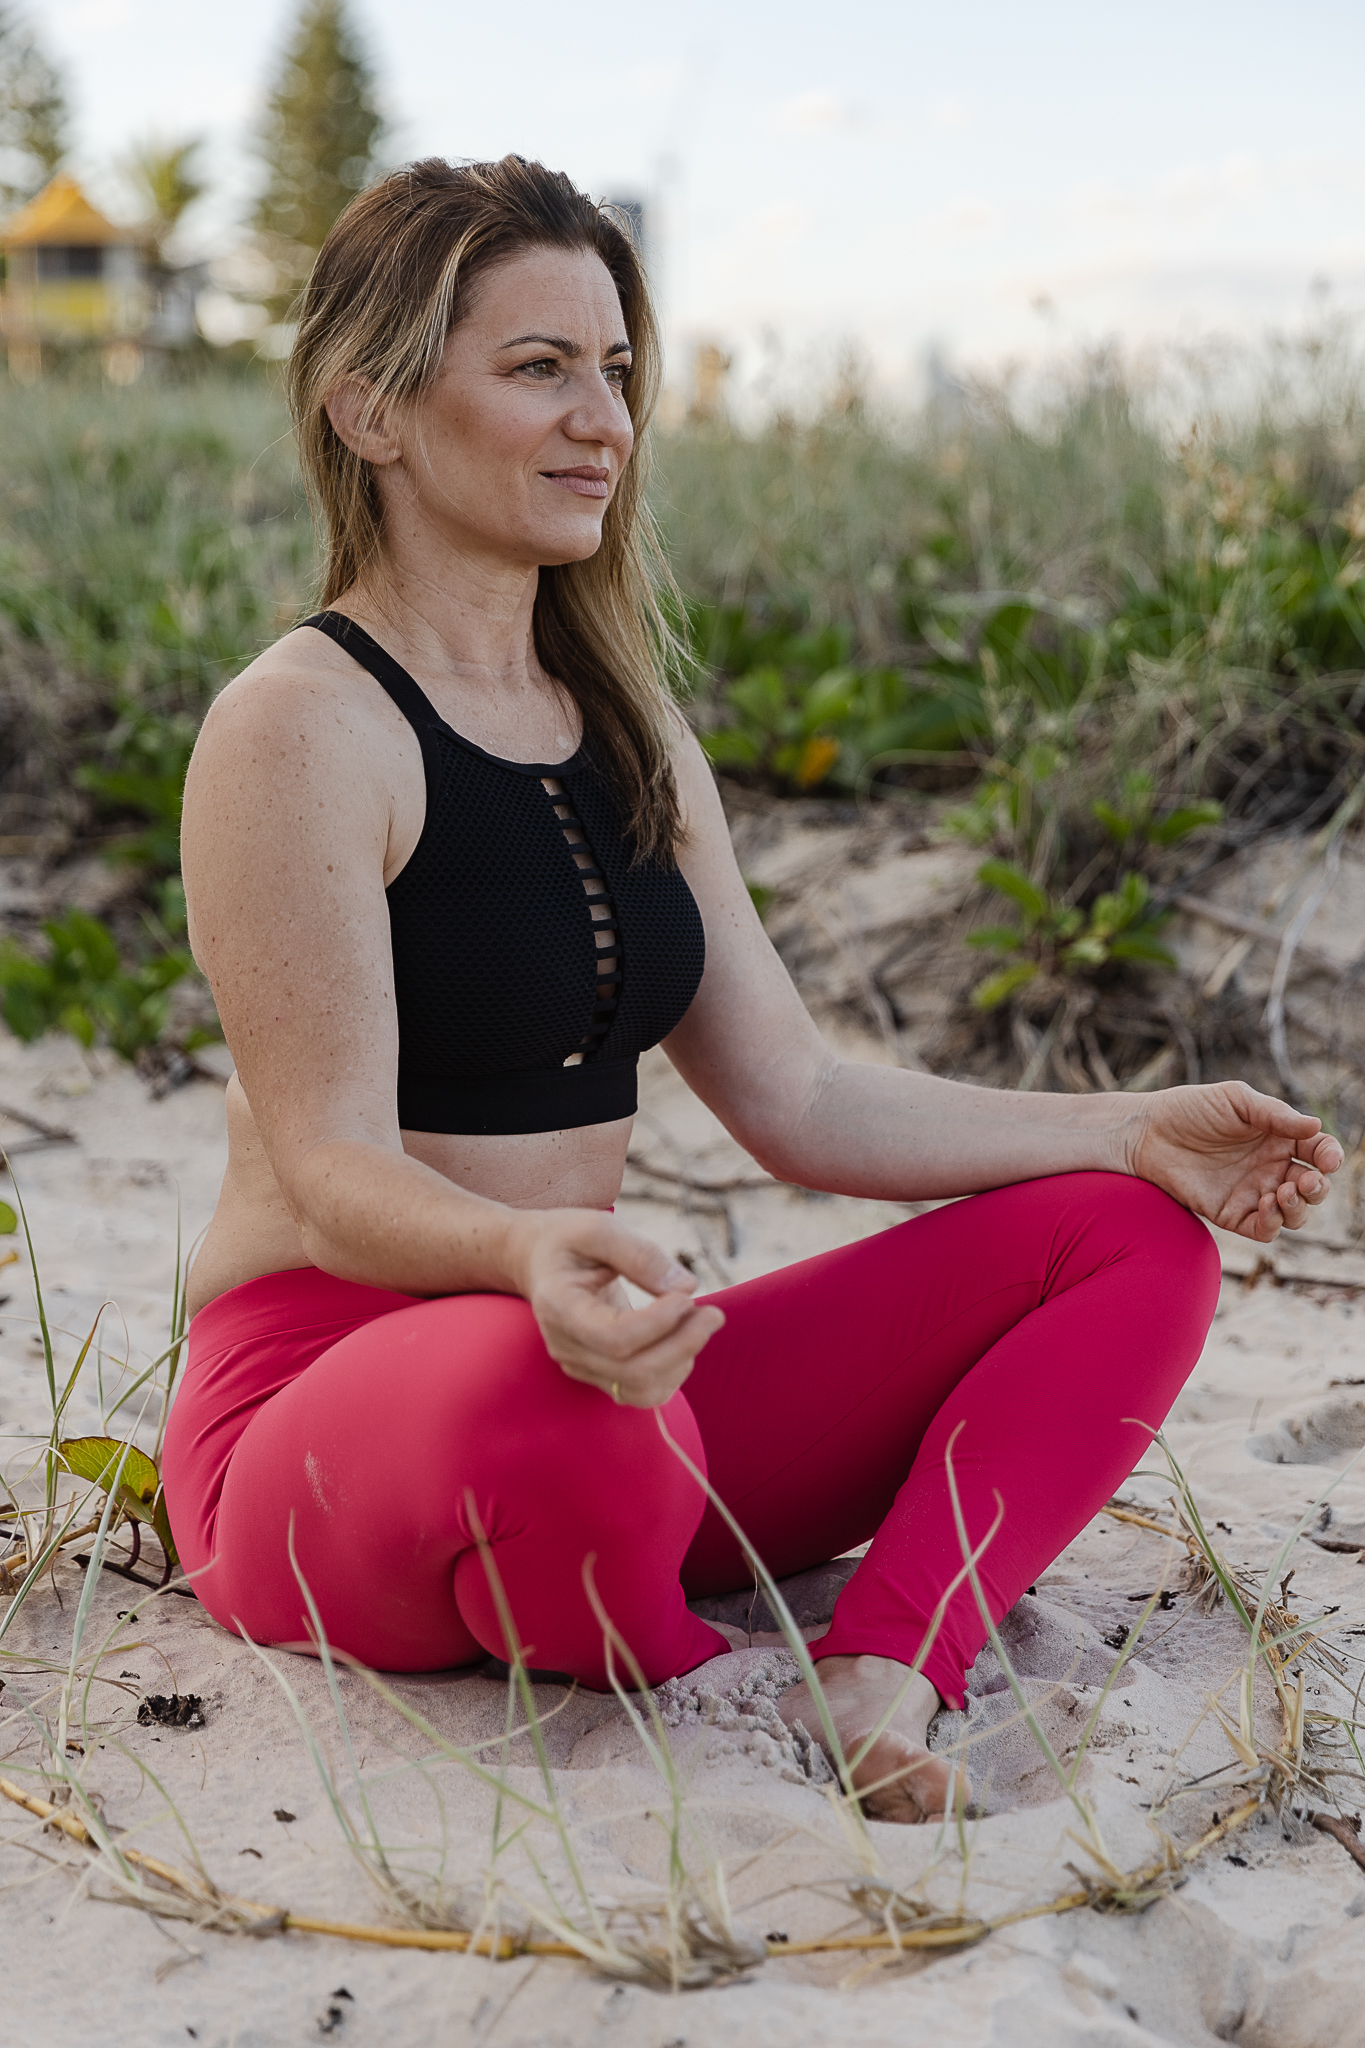
Preparation
- Sit on the floor or on a chair.
- Elongate your spine to maintain an upright posture.
- Relax your respiration muscles.
- Breathe normally for a few minutes.
Beginning with this: The Control Pause
- After a relaxed exhale, hold your breath.
- Use your index finger and thumb to plug your nose.
- Retain your breath until you feel the urge to breathe, which may include an involuntary movement of your diaphragm, and then inhale.
- Breathe normally for at least 10 seconds.
- Repeat several times
The Feather Breathing
The feather breathing exercise, is a method aimed at reducing hyperventilation and increasing carbon dioxide levels in the body or can help if somebody has shortness of breath.
-
Relax Your Body: Sit or lie down comfortably. Close your eyes if it helps you relax. Let your body be loose and relaxed.
-
Hold the Feather: Hold the feather in front of you.
-
Breathe Normally: Begin breathing slowly and gently through your nose. Focus on your breath as it goes in and out.
-
Observe the Feather: Bring the feather closer to your nose. As you breathe out, observe how the feather reacts. The goal is to exhale gently enough that the feather barely moves or doesn’t move at all and slow down your breathing.
-
Continue for a Few Minutes: Practice this for several minutes, gradually increasing the duration as you become more comfortable with the technique.
You can also try placing one finger under your nose. Try to slow down your breathing so that you can barely feel the air coming out of your nose. -
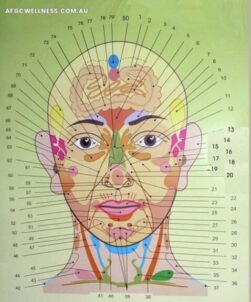
Nose Unblocking
This exercise is the first of the 12 Buteyko basic exercises. It’s a very useful practice because it helps clear the nasal passages and eliminates nasal congestion. Proper breathing is inconceivable without nasal breathing, which is impossible when your nose is blocked. It’s worth starting the exercises with this one.
A common question in the training sessions is whether the Buteyko method can still help if nasal breathing is obstructed, for example, due to a deviated septum or other reasons. Well, if you can breathe through your nose for a few minutes after doing this exercise, you’ll likely be able to improve your health through breathing with the Buteyko method without surgery.
Start the exercise by directing your attention to your nasal passages and determining which nostril is more congested. There’s often a difference between our two nostrils, noticeable in how freely air flows through them. Don’t worry, this is completely normal! You can easily assess this by placing your finger under your nostrils or alternately closing each nostril. After the exercise, the goal is to have your nasal passages completely open, allowing air to flow freely.
This exercise is contraindicated for those with high blood pressure, anxiety, panic attacks, cardiovascular diseases, and during pregnancy.
It’s a good idea to have a tissue handy before doing the exercise because you’ll almost always feel a strong urge to blow your nose and produce mucus.
Here’s how to do the exercise:
- Breathe in and out through your nose normally!
- After exhaling!!!, close your nostrils with two fingers!
- Move your head back and forth, or from side to side, or move your body as you prefer!
- Hold your breath and do the movements until you feel strong breathlessness!
- Release your nose and breathe calmly through it, as much as you can, you can even force yourself to breathe calmly!
- Repeat the exercise a total of 6 times, with 30-60 seconds of rest between each breath hold!
Next level: Step technique
When you walk and want to do the next level…In this exercise, after a normal exhalation, we hold our breath while walking. This exercise is not suitable for those with unstable asthma or breathing difficulties, as it may disrupt their breathing and induce excessive breathlessness, or trigger asthma symptoms.
• Start walking with your mouth closed, tongue on the roof of your mouth, and relaxed jaw. I want this exercise to be challenging but not stressful. It’s important to keep your breathing controlled throughout the exercise. When you’re ready, I want you to inhale and exhale through your nose, then pinch your nose shut with your fingers and hold your breath for 10 steps. After that, release your nose and breathe through it again.”
• Repeat this, increasing the number of steps by 5 with each breath until you create strong breathlessness:
• Walk further with normal breathing for 30-60 seconds. Then inhale and exhale through your nose, pinch your nose shut, and hold your breath for 10 steps;
• Continue walking while breathing through your nose. Breathe normally for 30-60 seconds, then repeat the breath hold;
• Inhale and exhale through your nose, pinch your nose shut, and hold your breath for 10 steps;
• Continue walking while breathing through your nose. Breathe normally for 30-60 seconds, then repeat the breath hold;
• Inhale and exhale through your nose, pinch your nose shut, and hold your breath for 15 steps;
• Continue walking while breathing through your nose. Breathe normally for 30-60 seconds, then repeat the breath hold;
• Inhale and exhale through your nose, pinch your nose shut, and hold your breath for 20 steps…”
Drawbacks
While Buteyko breathing has many benefits, it may not be suitable for everyone and it’s not a substitute for your doctor’s treatment plan. Always talk to your healthcare provider before beginning breathing exercises.
Avoid BBT if you have any of the following:
- hypertension
- heart disease
- epilepsy
- a serious medical concern
Resource: https://www.healthline.com/health/asthma/buteyko-breathing-technique
I CAN TEACH YOU BUTEYKO BREATHING. BOOK YOUR SESSION HERE: 0413163890